 |
| Marble Mirror Glaze Cake |
Ok since this is a mousse cake you need to start this cake a day before you glaze it. It needs to be frozen solid before you glaze it, so I'll try my best to show the steps to achieve this cake. Also if mousse isn't your thing, you can frost your cake with buttercream but you have to make sure it is smooth with no lumps and is also frozen. The fails I saw on instagram were because the mirror glaze was very lumpy (it is not forgiving when showing imperfections) the cakes were not smooth enough. Also the pouring temperature has to be 90F (if it's too hot it will be to runny and not glaze the cake properly, if it's too cold the glaze will be to thick to pour).
I'll break this up into three parts, The Coconut Cake Layer, Coconut Jelly layer (which is optional), and the Coconut Mousse Layer.
Coconut Cake
- 3 whole eggs (room temp)
- 3 egg yolks (room temp)
- 1/2 cup flour
- 7 tablespoons of cornstarch
- 1/4 cup oil
- 3/4 cup coconut oil (liquified)
- 1/2 cup sugar
- 1/2 tsp salt
- 2 tsp vanilla
Preheat your oven to 375F
First take your flour and cornstarch and whisk together (I like to run it through a sieve to incorporate the dry ingredients evenly) then set aside

Take your eggs, egg yolks, salt, vanilla and sugar and whisk on high speed until the double in size and are pale yellow ( 4-6minutes)


finished product should look like this
 |
| I was watching football as I made this and I was surprised at how big the eggs+sugar got. |
Ok now using a whisk by hand, quickly whisk in your flour mixture.
 |
| you need to mix by hand, so you don't deflate all the air |
pour in your liquified coconut oil + 1/4 cup of another oil (I used grapeseed oil, but you could use any vegetable, canola, olive, whatever you have) and mix it all together

Place this batter in a prepared 8 inch cake pan (you need to spray and line the bottom with parchment paper , or butter and flour your pan)

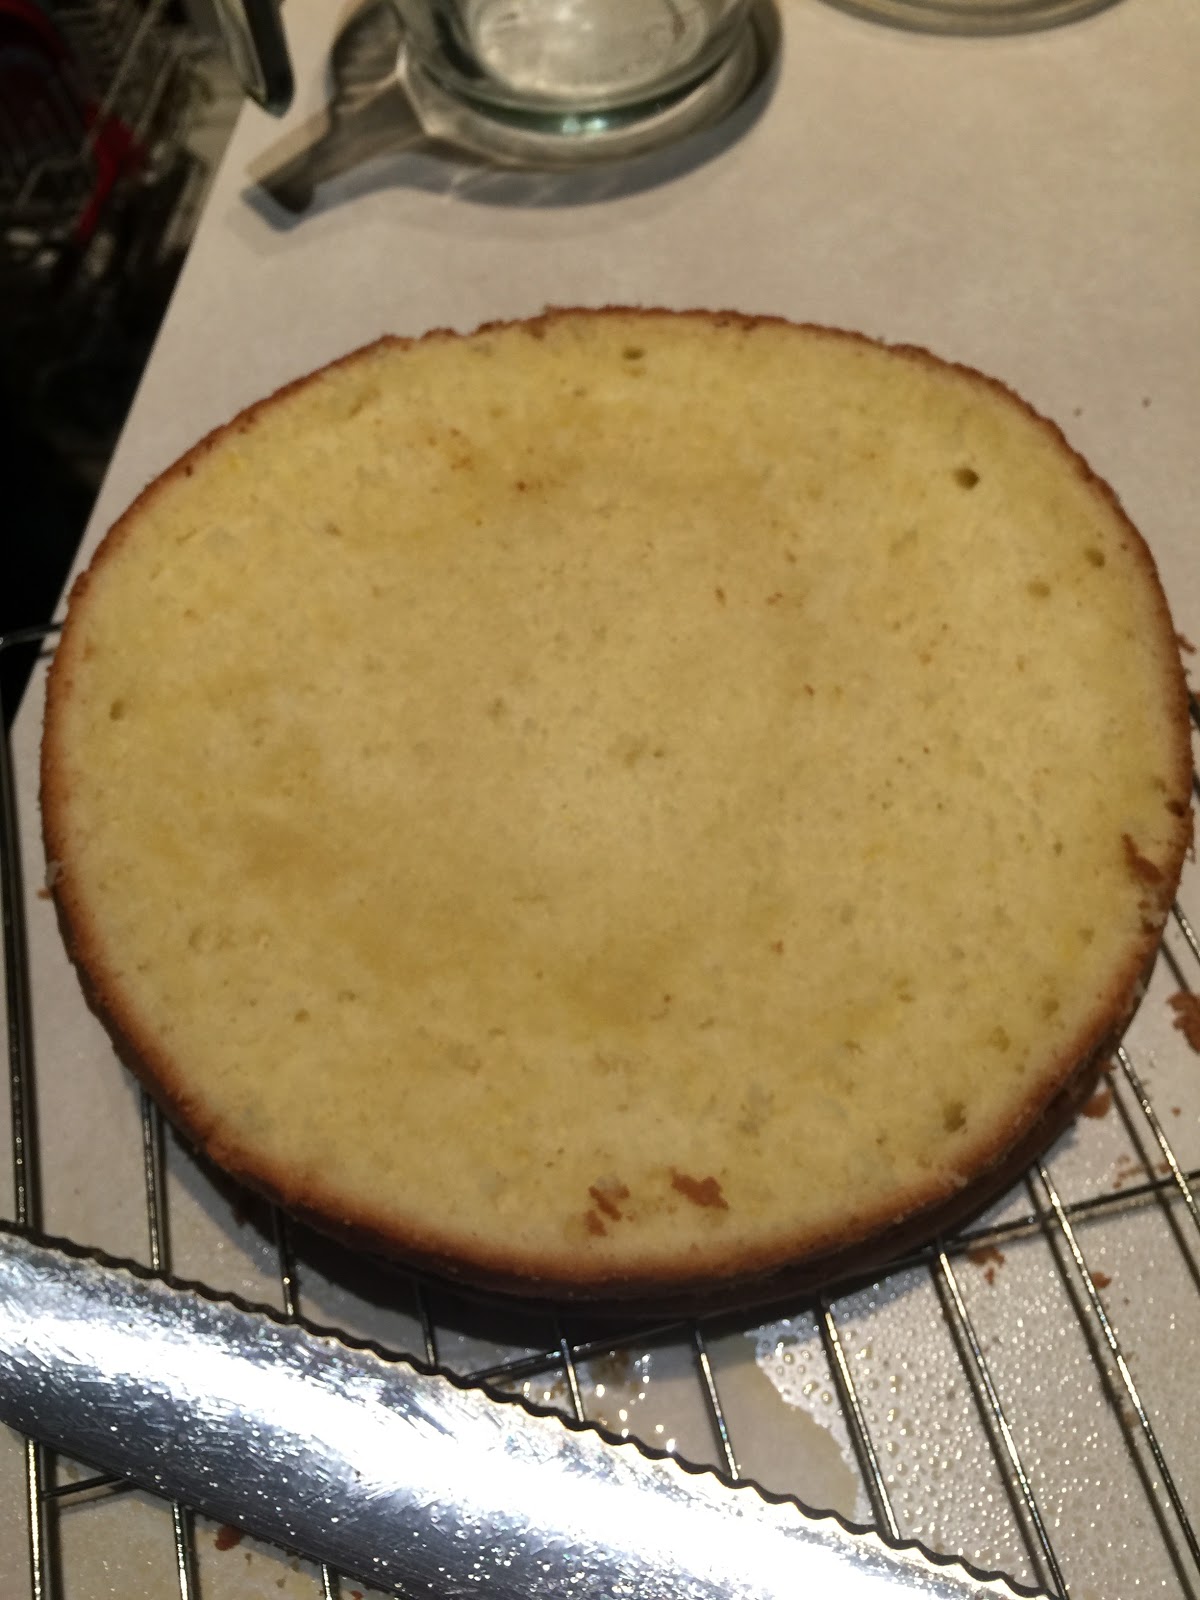
Place in your 375F oven for 22-25 minutes, when you stick a toothpick in the middle and it comes out clean the cake is done.
Remove the cake from oven and immediately turn it out onto a cooling rack that has been sprayed with cooking spray.
 |
| This cake was so springy, it was nice |
Let cake cool for an hour.
I didn't need this much cake, so I sliced it in half and placed the other half in a freezer bag and placed it in the fridge for later use.
 |
| I was so happy that I was able to cut it so evenly |
When this cake was completely cooled I wrapped it in plastic wrap and placed it in the freezer until I was ready to assemble the cake.
For the Coconut-Water Jelly
- 2 cups of coconut water
- 4 tablespoons of granulated sugar
- 1 packet of unflavored gelatin
I just made this up.


Pour 1/2 cup of coconut water in a bowl, or big measuring cup and sprinkle gelatin over the top, let it sit for 5 minutes.
 |
| coconut water +gelatin |
Place remaining 1.5 cups of coconut water + sugar in a small pot on stove and bring to a boil.
 |
| this was supposed to show you boiling coconut water but it steamed up my camera |
pour the boiling coconut water mixture over the gelatin mixture. Stir and place in a sprayed and plastic wrap lined pan ( I used the same size pan as my cake, I did not spray the plastic or pan and it was hard to get out, I had to break the pieces up)
 |
| I like the little coconut pieces floating around in the jelly |
Place in the fridge for a couple hours to set up, or you could place in the freezer for 30 minutes or so. ( I did this and I didn't like the result, I must have left it in a little longer because some parts were a nice jelly/jello consistency which is what I wanted, and some parts were icy...and I didn't like that in such a smooth cake)
Now for the coconut mousse
- 1/4 cup cold water
- 1 1/2 teaspoon unflavored gelatin
- 2 cups canned coconut milk
- 1/2 cup sugar
- 2 teaspoons coconut extract
- pinch of salt
- 2 cups heavy cream
- 1 tablespoon of sugar
First take your 1/4 cup cold water and place in a small bowl, sprinkle the gelatin over the top
Let sit for 5 minutes
 |
| water + gelatin |
In a small pot pour your coconut milk, 1/2 cup sugar, coconut extract, and pinch of salt and whisk together on medium heat until all sugar has dissolved.
 |
| This reminds me of making mango sticky rice because of this coconut sauce |
 |
| all the sugar is dissolved |
once sugar has dissolved add in the gelatin mixture and stir until dissolved.
 |
| throw in that hunk of gelatin |
Remove from heat and place in a bowl, and let it come to room temperature ( about 20 minutes) ***I filled a larger bowl with ice and placed this bowl on top of the ice to cool it down much faster***
You don't want this hot because you will be adding whipped cream to this.
 |
| cooled down cream |
Ok take your two cups of cream + tablespoon of sugar and whip till you achieve soft peaks, look at the picture, you don't want to beat the cream longer than that or your mousse will not be silky, the texture will be wrong.

 |
| stop when your cream looks like this |
Gently fold about 1/4 of the whipped cream into the coconut milk mixture
 |
| this smelled really good |
It's going to look weird and lumpy at first, but thats ok
 |
| It looks gross but it's fine like this, when you add the remainder of the cream it works itself out |
now add in the remainder of the cream and fold it all together

See how the lumps went away and now you have a smooth silky coconut mousse
 |
| yummy coconut mousse |
Time for assembly
You need to use a pan that is slightly bigger than the cake pan you used. So I used a 9 inch springform pan.
I placed plastic wrap on the bottom of the pan and then I locked the ring around that.
I placed some of the coconut mousse on the bottom of the pan and then attempted to put my circle of coconut jelly on top, as you can see I couldn't get it out in one piece, so I just broke it into pieces, it's still ok.
 |
| I'm sad that I had to break up the jelly |
Next I covered the jelly layer with more coconut mousse
 |
| try to smooth out your mousse after each layer |
Lastly place your cake layer on and cover that with the remaining mousse
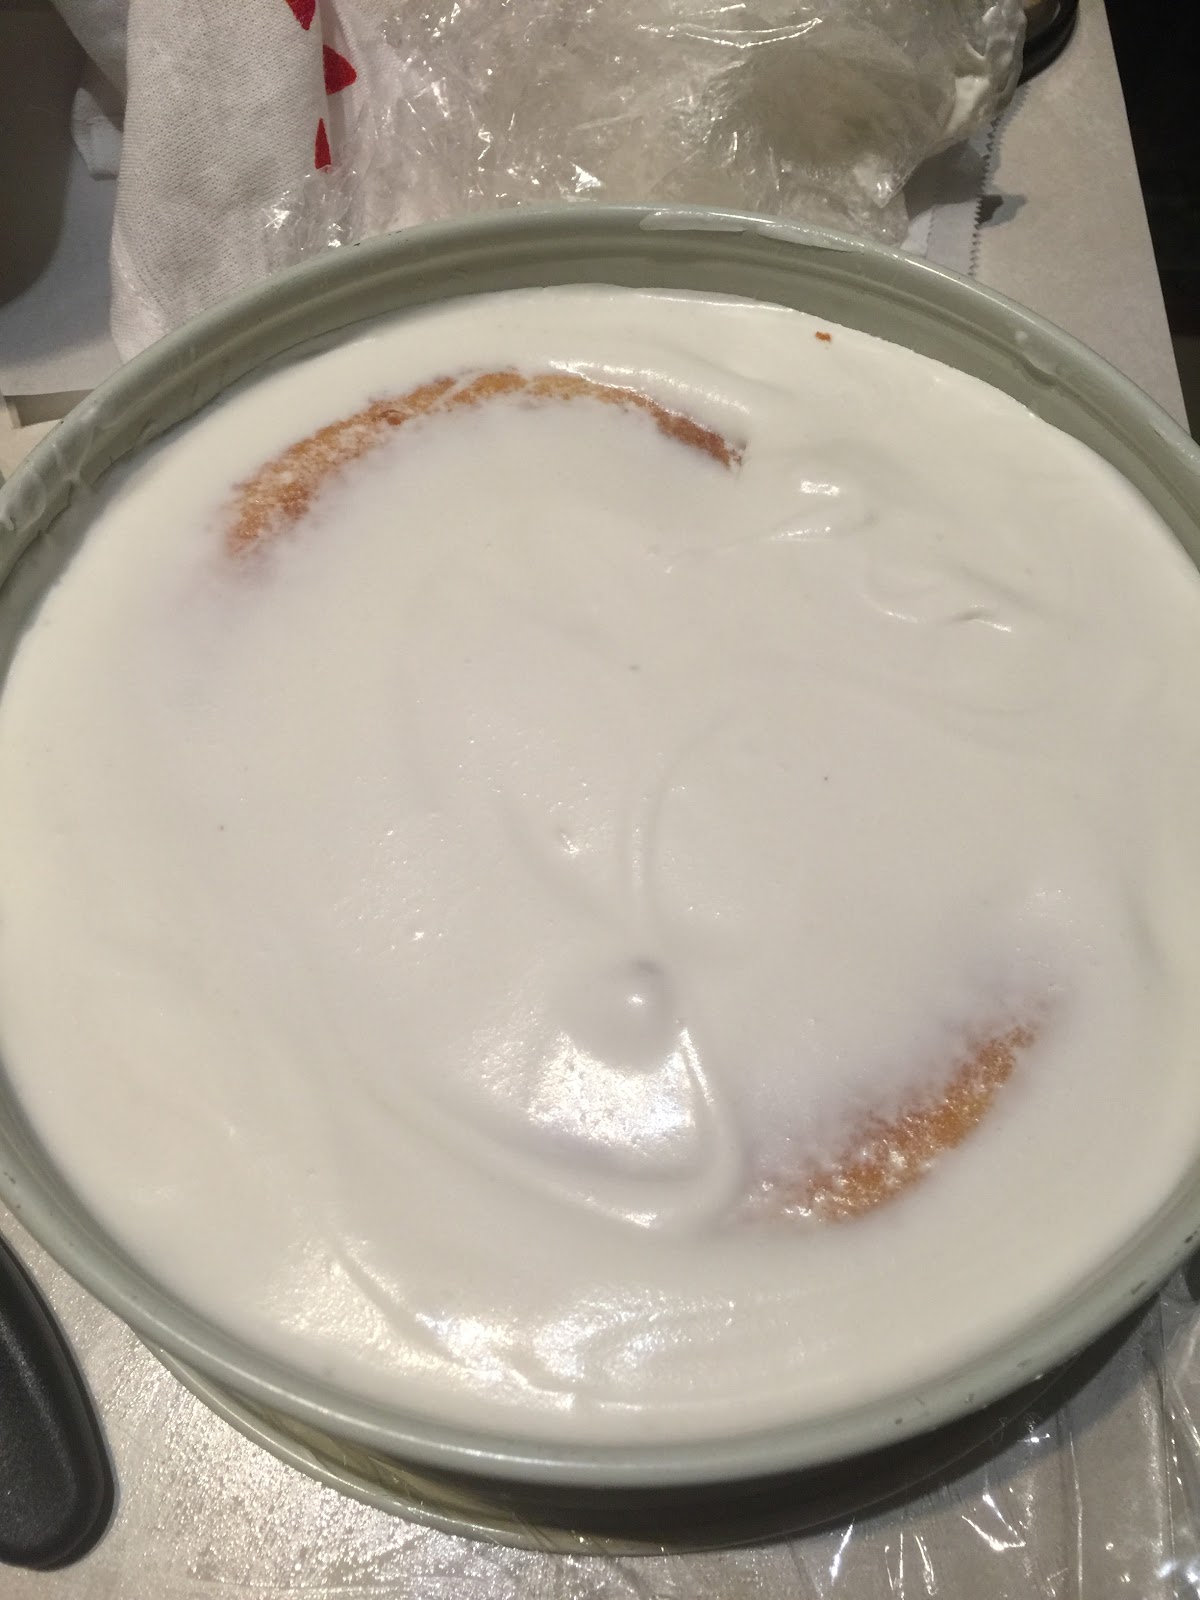 |
| ready for the freezer |
I then covered the whole thing with plastic wrap and popped it in the freezer until the next day.
and this is what it looks like
To get it out of the ring I used a hair dryer around the edges of the pan. I then flipped it onto a cake board slightly smaller than the cake. I then used the hair dryer again to get the top (bottom) of the cake pan off
 |
| Look how pretty it is with the jelly poking through. |
No comments:
Post a Comment